So far we've seen how to create the Solution for Umbraco and now we will see how to perform the installation to work correctly as a website. To begin the process we need to start the Web Server in order to display the site on a web browser. To do this we press the green arrow on the toolbar of Visual Studio.

The Debugging Not Enabled dialog box will appear on the screen to inform us that we have not enabled debugging and it allows us to activate it.
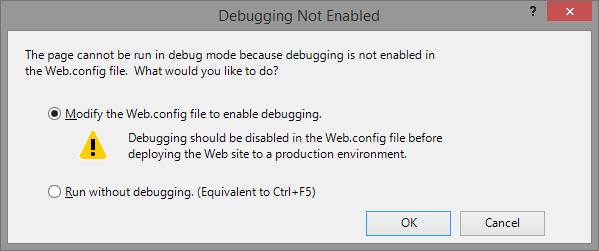
If we choose the first option and enable debugging, when we move the files in the Web Server we have to disable this setting in Web.config otherwise pieces of code may appear on the browser and it will increase the risk that someone will access functionality that we do not want to be used by non-authorized users. We select the second option so that we will not modify the Web.config and we press the OK button to start the installation of Umbraco.
The web browser will appear on the screen and the first installation screen will appear.

We type our first name in the Name text box. We type our email and Password in the equivalent textboxes. We have to remember this information because the email and password will give us access to the Umbraco Back Office in order to manage the web site.
At the bottom of the form there are two buttons. The first is the Install button which will install Umbraco using the default settings and create some pages for us. The second button allow us to configure how Umbraco is going to be installed. We press the Customize button so that we will define how the installation of the site is going to occur. The Configure your database form will appear on the screen.

From the Database type dropdown list box we choose the type of database we want to use.

Each of these options displays extra input controls so that we will define information required by Umbraco in order to connect to the selected database. We will select the Microsoft SQL Server Compact (SQL CE) which does not require any configuration to use it and we click the Continue button. The Install a starter website screen will appear on the screen.

On this screen we can choose one of the 3 starter websites or click on the No thanks, I do not want to install a starter website link in order to make a clean installation and start from scratch our web site. For our own example we click on the No thanks, I do not want to install a starter website link. The installation will start and after a few seconds the Back Office of Umbraco screen will appear on the screen with which we can manage our web site.

In order to come back to this page later we should visit a page with the following format:
http: //www.domain.xx/umbraco
The following form will appear on the screen in order to type the email and password we specified duration the installation.

